What Is Proofing Dough and Why Is It Important?

Introduction
“What is proofing dough?”
Proofing dough is an essential step in bread making that allows yeast to ferment, producing gas that helps the dough rise. This process not only affects the texture and volume of the bread but also enhances its flavor. Whether you’re a beginner or an experienced baker, understanding proofing can elevate your bread-making skills. In this article, we’ll explain what proofing dough is, why it matters, and how to do it properly.
1. What Is Proofing Dough?
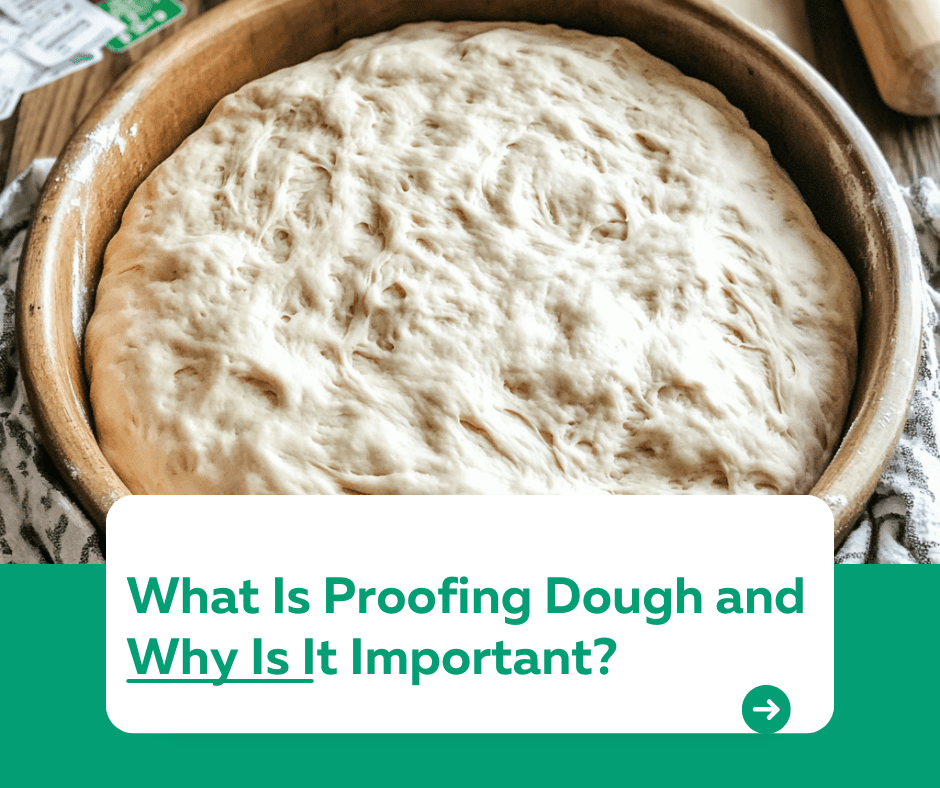
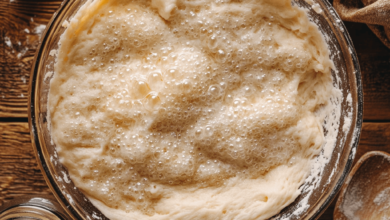
Proofing is the process of allowing yeast dough to rest and rise before baking. It’s the stage where the yeast ferments, creating carbon dioxide gas that expands the dough.
- Primary Proofing: The first rise, often done after mixing and kneading.
- Final Proofing: The second rise, done after shaping the dough.
Why It’s Called Proofing: The term comes from “proving” the yeast is active and working effectively.
2. Why Is Proofing Important?
Proofing is essential for several reasons:
- Volume and Texture: Proper proofing allows the dough to rise, creating light, airy bread.
- Flavor Development: Fermentation enhances the taste, adding complexity to the bread.
- Improved Structure: Allows gluten to relax, making the dough easier to shape and bake.
3. How to Proof Dough
Follow these steps for successful proofing:
Step 1: Prepare the Dough
- Mix and knead the dough as directed by your recipe.
Step 2: Choose the Right Container
- Use a large, lightly oiled bowl to prevent sticking and allow room for the dough to expand.
Step 3: Cover the Dough
- Cover the bowl with a damp kitchen towel or plastic wrap to retain moisture.
Step 4: Find a Warm Spot
- Yeast thrives in warmth. Ideal proofing temperatures range from 75°F to 85°F (24°C to 29°C).
Step 5: Time It Right
- Allow the dough to double in size during primary proofing. Times vary based on the recipe but typically range from 1 to 2 hours.
4. Signs That Dough Has Proofed Properly
- Doubled in Size: The dough should visibly expand.
- Finger Test: Gently press your finger into the dough. If the indent springs back slowly, it’s ready.
5. Common Proofing Mistakes and How to Avoid Them
- Underproofing: The dough doesn’t rise enough, leading to dense bread.
- Fix: Allow more time for the dough to rise in a warm environment.
- Overproofing: The dough rises too much and collapses.
- Fix: Monitor the dough and bake as soon as it reaches the ideal size.
- Too Cold or Too Hot: Extreme temperatures can inhibit yeast activity or kill it.
- Fix: Use a thermometer to maintain the right proofing temperature.
Conclusion
Proofing dough is a critical step in bread making that ensures your bread rises properly and develops the best flavor and texture. By understanding the process and avoiding common mistakes, you’ll master the art of proofing and bake delicious, professional-quality bread every time.
For more bread-making tips and techniques, visit our Kuestion.com.


