What Is Proofing in Bread Making?
Introduction
“What is proofing in bread making?”
Proofing is a critical step in bread making that ensures your dough rises properly, resulting in light, airy bread with the perfect texture. It’s during this stage that yeast ferments, producing gases that make the dough rise. In this guide, we’ll explain what proofing is, why it’s important, and how to do it effectively for better baking results.
1. What Is Proofing?
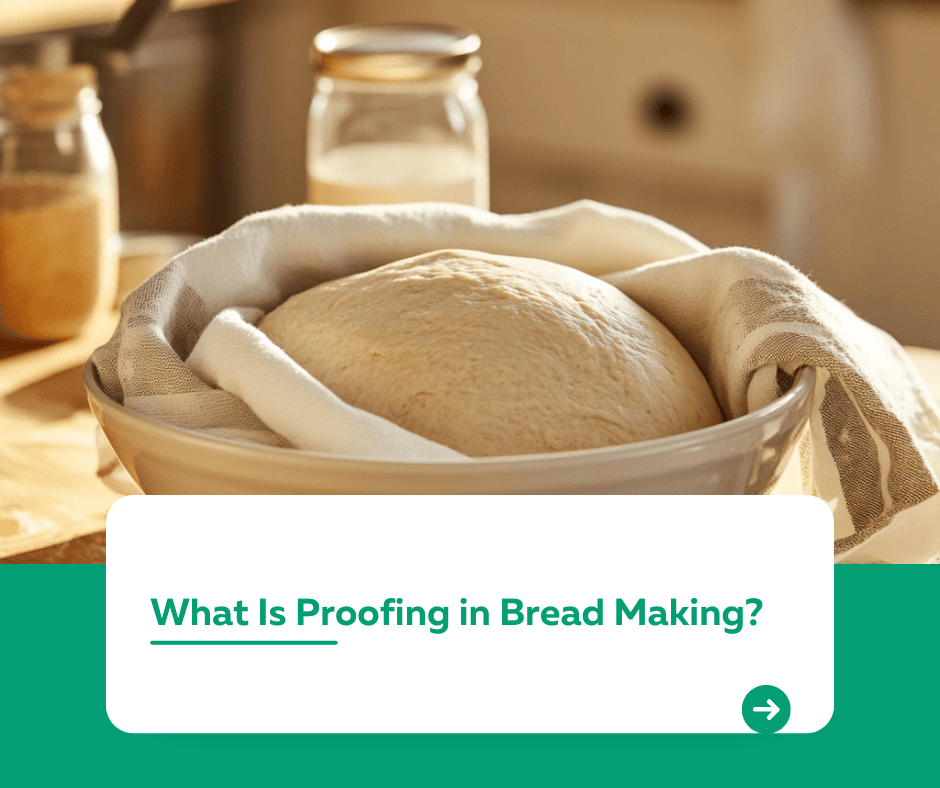
Proofing (also called fermentation or rising) is the process where dough is allowed to rest and rise after mixing. This is when yeast activates, feeding on sugars in the dough and releasing carbon dioxide and alcohol.
- Why It’s Important:
- Creates air pockets, making the bread light and fluffy.
- Enhances flavor through fermentation.
- Helps gluten relax, improving texture.
2. The Stages of Proofing
Proofing happens in two main stages:
- First Proof (Bulk Fermentation):
- Happens after kneading.
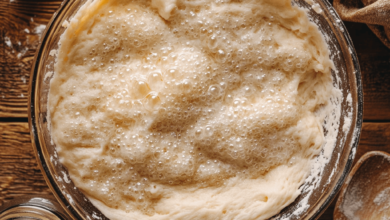
- Allows the yeast to ferment and the dough to double in size.
- Second Proof (Final Proofing):
- Happens after shaping the dough.
- Ensures the dough rises again, giving bread its structure.
Pro Tip: Don’t skip the second proof—it’s essential for achieving a balanced crumb.
3. How to Proof Bread Dough
Follow these steps to proof dough effectively:
- Step 1: Place the dough in a lightly oiled bowl to prevent sticking.
- Step 2: Cover the bowl with a damp towel or plastic wrap to retain moisture.
- Step 3: Let it rest in a warm, draft-free environment.
Ideal Temperature: 75°F–85°F (24°C–29°C).
Tip: Use an oven with the light on or a proofing box for consistent warmth.
4. How Long Does Proofing Take?
Proofing time varies depending on factors like:
- Yeast activity.
- Room temperature.
- Ingredients in the dough.
General Guidelines:
- First proof: 1–2 hours or until the dough doubles in size.
- Second proof: 30–60 minutes, depending on the recipe.
5. Signs of Properly Proofed Dough
- Doubled in Size: Dough should appear visibly larger.
- Poke Test: Gently press a finger into the dough. If it springs back slowly, it’s ready.
Tip: If the dough doesn’t spring back, it may be over-proofed.
6. What Happens if You Skip Proofing?
Skipping proofing results in:
- Dense, heavy bread with little to no air pockets.
- Reduced flavor, as fermentation enhances taste.
Tip: Always proof your dough to ensure the best results.
Conclusion
Proofing is a vital step in bread making that ensures your dough rises properly, creating light, flavorful bread. By understanding the proofing process and following these tips, you’ll elevate your baking skills and produce perfect loaves every time.
For more baking tips and techniques, visit our Kuestion.com.

